
Hey, Peeps. I'm playin' in the craft room again, and I thought I'd show you a little more Gelli Plate fun, again with my stencils that you can find in my Etsy shop. I'm addicted to designing stencils, so to actually find time to play with them is getting a little harder!
I started with my non-clean Gelli Plate. I don't really spend a whole lot of time cleaning it, obviously, because the old paint will just come up on the new print. Love how that happens!

I spread a little green and yellow paint on top. Remember, you don't need much. That's one of the things I love about this process.

Just use a brayer and spread it out.

Here, I used my Laced Birds stencil and my Wonky Flowers design, along with half of an egg carton. Gotta love using trash!

Oh, my. I believe I forgot to take a pic of this step in its entirety, but here's part of the Laced Birds.

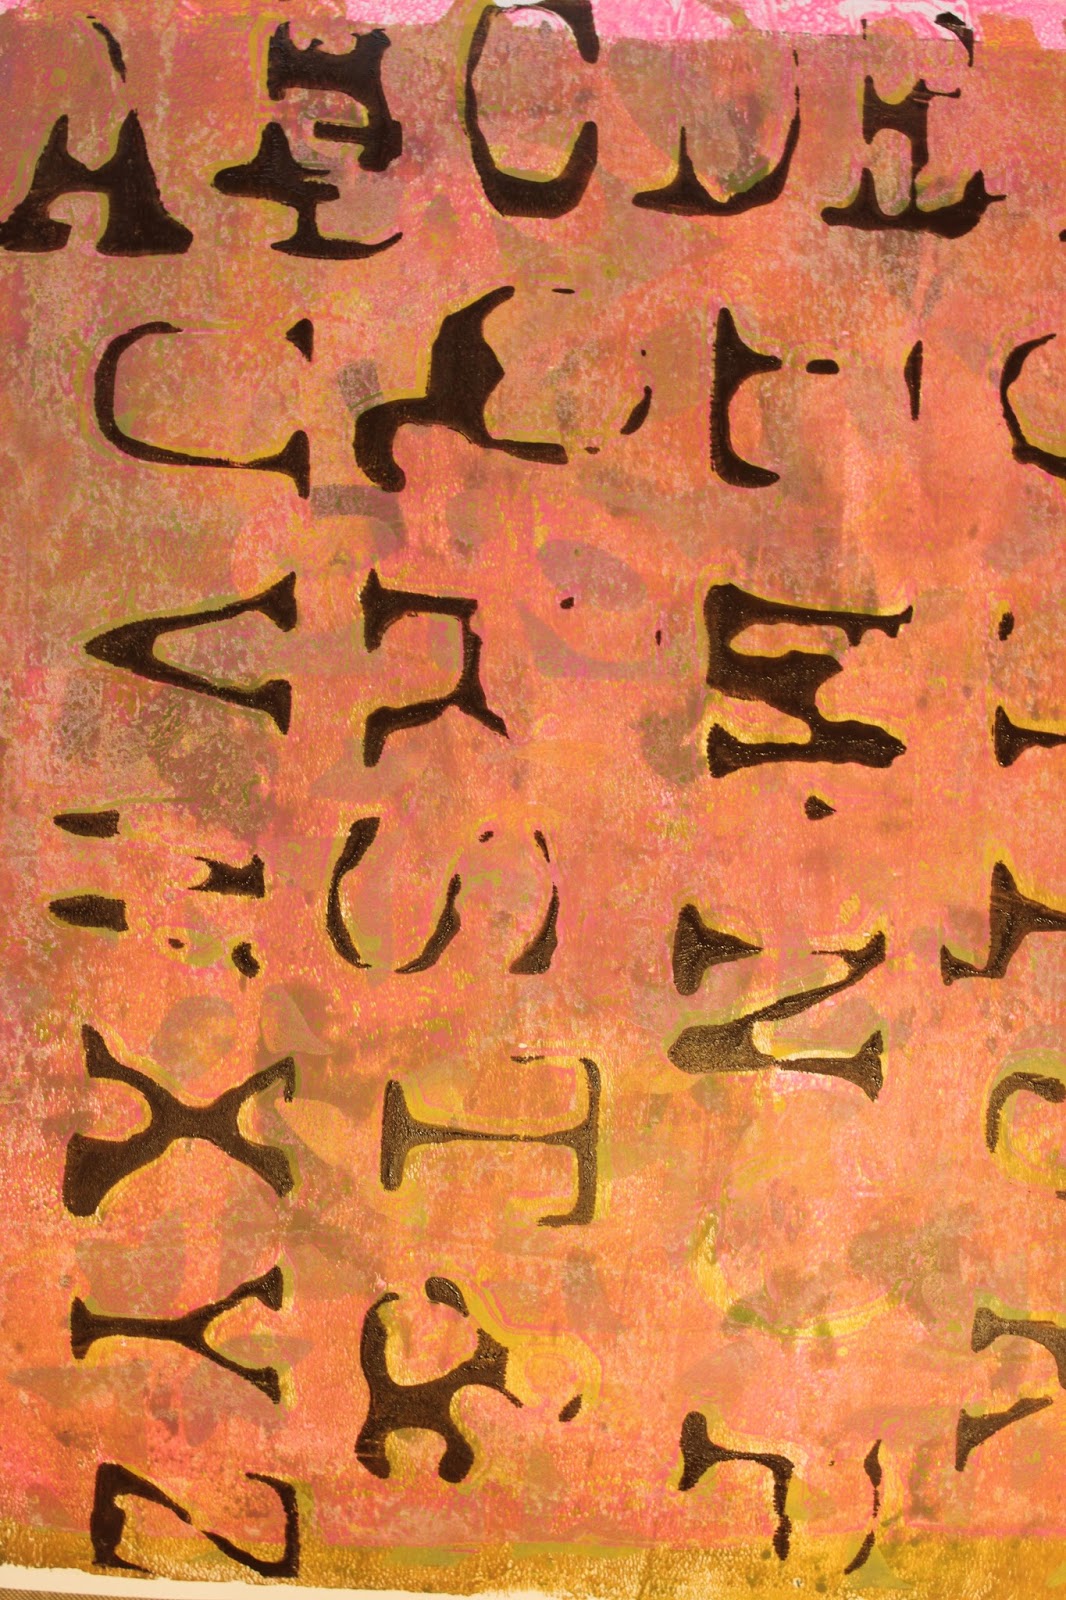
Here's my Grunged Alphabet stencil. Remember that when you use a stencil with "direction", like words, you need to place it down "backwards" for the letters to be correctly oriented on your print.

And, here's the print. I really like how it's a little "incomplete" and "unplanned" looking.

With this one, I decided to cut it up for a card.
Using my Words 1 Stencil, I masked off the other words with Washi tape, then I inked a word "Yay".

and I outlined it with a Sharpie to give it a little more definition.


And here's the final card, with a few embellies.

I inked the border and added some clear embossing powder for a little sparkle.

Here's another print of my Grunged Alphabet.

And for one of my prints, I inked just part of the Gelli Plate, masked it off with another print (or you could just use any old piece of paper), and then I printed it.

I love using molding paste for texture, and gouache is one of my favorite paints right now. A little goes a long way. Gouache is highly pigmented, so if you mix it with a white molding paste, you'll still get a lot of color that's not washed out.


I masked off my letters again, and scraped the gouache-molding paste mixture over the words.

And here's what I ended up with. Love!

And while I had some extra mixture, I went over another word...

I took a piece of removable tape and applied it about 1/4 in. from the edge...

...and then I applied some glossy accents on the edge.

I sprinkled some glass glitter from Meyer Imports over the glossy accents, and then pulled up the tape carefully, so as to leave a very straight line. I used my Zutter edge distresser on the bottom, and added a grungy flower.


I can't wait to give this to someone who's celebrating something fun!


Thanks so much for reading!
Fondly, Tami