Showing posts with label Hand-carved stamps. Show all posts

Thursday, March 5, 2015

Clean Your Craft Mat With Skin Peelings- Part II


Hey, Peeps. Here's the long, drawn-out sequel to Part I of "Clean Your Craft Mat With Skin Peelings, Part I", which was here.


Here is the final piece, still stuck on the mat, but dried. The extra heavy gloss gel medium dried beautifully clear.


The reason to lay it on extra thick (see part I) is so that it has "substance" when it's peeled off of the mat. Here you can see that there's something for my credit card to "grab" onto to get the peeling started.


Just find the edge and push to gather it slightly. I did this all around the perimeter of the design.


Here, you can see the edge.


Honestly, Froggers, I didn't expect that this would all come up as one piece. It's about 9x11 inches or so. I thought it would rip or tear at some point, but I must have done a whiz-bang job of laying down the gel medium, because I had absolutely no problem keeping it all together. I just pulled it off slowly and carefully. Here it is, placed on top of a piece of white paper.


There is just SO much yummy goodness.


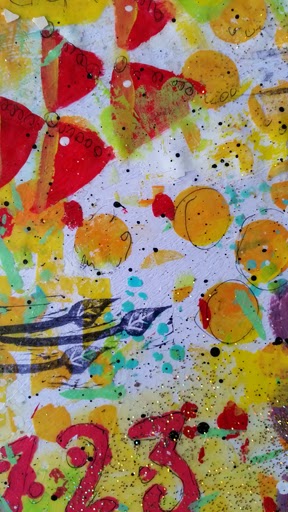
Here, you can see the hand-carved stamped images.


More hand-carved stamp images as well as painted doodles.


Texture and layers.


And more glittery goodness.


And, because this is essentially "plastic", when you store it, make sure to put it in between two pieces of waxed paper and make sure it stays flat. And, don't let it fold in on itself. You might be able to pry it apart, but I don't make any guarantees.

So, what will I do with this?
Here are some ideas:
Die cutting- I would cut this into smaller pieces (I know- perish the thought!!!), place a piece between two pieces of paper, and run it through my Big Shot.
Cards- cut this into smaller pieces and collage onto cards, perhaps using some patterned paper underneath. I would use gel medium to glue it down, but if I used gel medium on top, I would definitely use gloss, since matte would dull it, and it's SO pretty in its shiny state.
Canvas- need I say more? This would look so pretty on a canvas with some embellies like flowers, buttons, etc.
As a layer on any other substrate, like laminate samples (see my blog post here), tags, old pieces of wood, wooden clipboards, etc., etc.
As a layer on top of gelli prints.
And on, and on, and on. 
When I get the nerve to cut this up, I'll show you sometime, K?
Again, thanks for visiting. 
Fondly, Tami


Tuesday, December 2, 2014

Getting My December Daily Challenge ON!

Hey again, Peeps. Whew! The holidays sure are ramping up, but I'm excited to participate in the December Daily because it keeps me focused on what is REALLY important- spending time in the Craft Room!!!

So, here are my first two pages. The first one was a white on white "suggestion". Since I love white on white, it wasn't a problem at all.

It's always hard for me to start a new journal. I have to get over several things:
1. That it has to be perfect.
2. That there has to be a cohesive theme.
3. That it has to be perfect.

So, with this journal, I'm embracing imperfection. I have several things I want to journal about, and if one doesn't jive with the other, that's OK. This is my PLAY time.

I've gone through some revelations lately, so I'm going to include them this month. I've had to re-define some boundaries concerning some relationships, so I'm going to write about that, as well as celebrating every-day life. I'm also including some materials from this month's Brave Girls Club Soul School, which is a fabulous course. So. Many. Good. Things.

So, in keeping with my new-found love of hand-carved stamps (see blog post here), I wanted to have a lined area for my journaling, so I made a stamp.


So, here is my first page in the journal. Pretty self-explanatory.


Ha! I did end up covering up some mistakes. Kinda ironic.


I often over-think my work. I think it's because since I'm in the business of designing and selling my crafts, that I think everything has to be perfect (like I endeavor to do for my customers). However, sometimes I need to just sit back and have fun.


And here's the page for Dec. 2. I included some interactive journaling cards that open up. This might become a trend.


Here are the cards.


And inside, I wrote about places where I'm peaceful.


Card 2


And inside, how I can seek peace:


And, here is the layout. I've never really liked my handwriting, but it's all a part of who I am, so I'm going to write more instead of relying on a cute font from my printer.


Of course, I had to do a little painting and doodling.


And I included the cute pin that came with my Brave Girls Soul School subscription.


And, I even sat at the sewing machine, which isn't my fave thing to do, but I love the effect. A few pearl embellies later, and I was done. I do have to remember to punch my holes in my pages before I start adding junque, so that I don't cover over those areas. After all, it DOES need to be somewhat functional and put together, not unlike me.


Thanks for looking! Stay tuned for the next few days' layouts!
Fondly, Tami


Tuesday, December 31, 2013

The CUTEST Inexpensive Hand Carved Stamps

So, I'm stepping out of my comfort zone, art-wise. I discovered art journaling about a year ago, but I remember thinking, "Why the heck would I want to make art in a journal when I could put it on canvas and display or sell it???"
Obviously, I was stupid. Well, not really, but I just didn't get it.
Until recently. 
Art journals are a wonderful way to express one's self, but for me, they're a great way to "practice" my art. Now, don't get me wrong. When I create a beautiful page in my journal, I think to myself, "Crap. I could have put that on a canvas." Oh, well.
I'm also learning to let go of my perfectionism. Of course, nothing I do is perfect, but I would like to think it is. I'm trying to let go of straight lines, perfectly washed out brushes, and a pristine canvas.
Enter hand-carved stamps. 
I love them.
Absolutely love them. 
They are fun.
They are whimsical.
And there's no way they could be perfect. 
I started out with my linoleum cutters. This set belonged to my MIL. I'm not sure what she used them for, but I inherited them. Yay for me.
The tips are interchangeable.


I find that for stamp carving, I use the tiny one more often than the others.


I started by purchasing a Speedball Speedy Carve Carving Block. Then I quickly discovered: 
1. I LOVED making them.
2. That I'd go broke soon, and my daughter would have to drop out of college because I couldn't afford to send her there anymore because I was buying too many blocks.
So, I found a much cheaper alternative. MUCH cheaper. Stay tuned....

This was my first attempt with the expensive block. I really like the rustic, non-perfect look.


Then, I read on the "interwebs" (as HubbyDoc would say), that you can use dollar store big erasers. 
Can you say habit score???


I was skeptical at first, but then I took my tools to the rubber, as they say. 
Well, "they" really don't say that.

I love the erasers because I can make about 4 small stamps (2 on each side), and I can use the sides as well. 
I just draw the shape I want and cut it out. I does help to do a little planning, and you can color in the areas that you definitely want to remove (keeping in mind that that's the part that will be light and not inked), but I just eyeball them. 
There are a few things to keep in mind. 
1. ALWAYS cut away from your body and your hands. I just had to say it.
2. This isn't a children's craft, for obvious reasons.
3. The tools are sharp. Or they should be. You should use gentle pressure. If you have to press hard, your tool isn't sharp enough and it's time to buy a new one.


I tend to turn my rubber instead of turning the tool. I think you have better control that way.

Here's one of the slanted ends. I just stuck my small tool slightly into the rubber and twisted it around, essentially gouging it out. See. It isn't perfect. Yay.


Ink your stamp up really, really well. I find that the eraser stamps don't take the ink quite as easily as your regular store bought rubber stamps. So, just ink well.


These stamps aren't super pliable, so I like to press the paper onto the stamp instead of the stamp on the paper.


Here's a sample of the difference. On the right, I stamped the rubber to the paper. On the left, I stamped the paper to the rubber. Of course, I'll still be able to use both. If you're using your stamp on a canvas project, keep in mind that you might end up with the look on the right, which in my opinion, is part of the "charm", as "they" say.


Then after I stamped the flower, I realized the center was too dull, so I changed it up.


I took a piece of cut out chevron plastic from a one of my tag stencils.


Then I traced it with a pen and cut it out of the thick end. You can play with how you want it to look. Think positive and negative space. You could just carve out the lines, or carve out sections. I decided to do sections.


And, here's what it looks like, stamped with some acrylic paint.


If you don't like the "leftover" lines, then just carve them away. I think they provide a rustic look.
Here's a brick wall design. Notice, all I did was carve lines. No rocket science here, Peeps!


I stamped it with distress stain. You can see the chevron on the side. Gotta make use of ALL surfaces since I'm cheap frugal.


Here's a little fox. She was a little more intricate, but I like her. Remember to take away as little as possible, stamp with it, and then you can see what you don't like and take more away. You can always cut more, but you can't UNCUT!


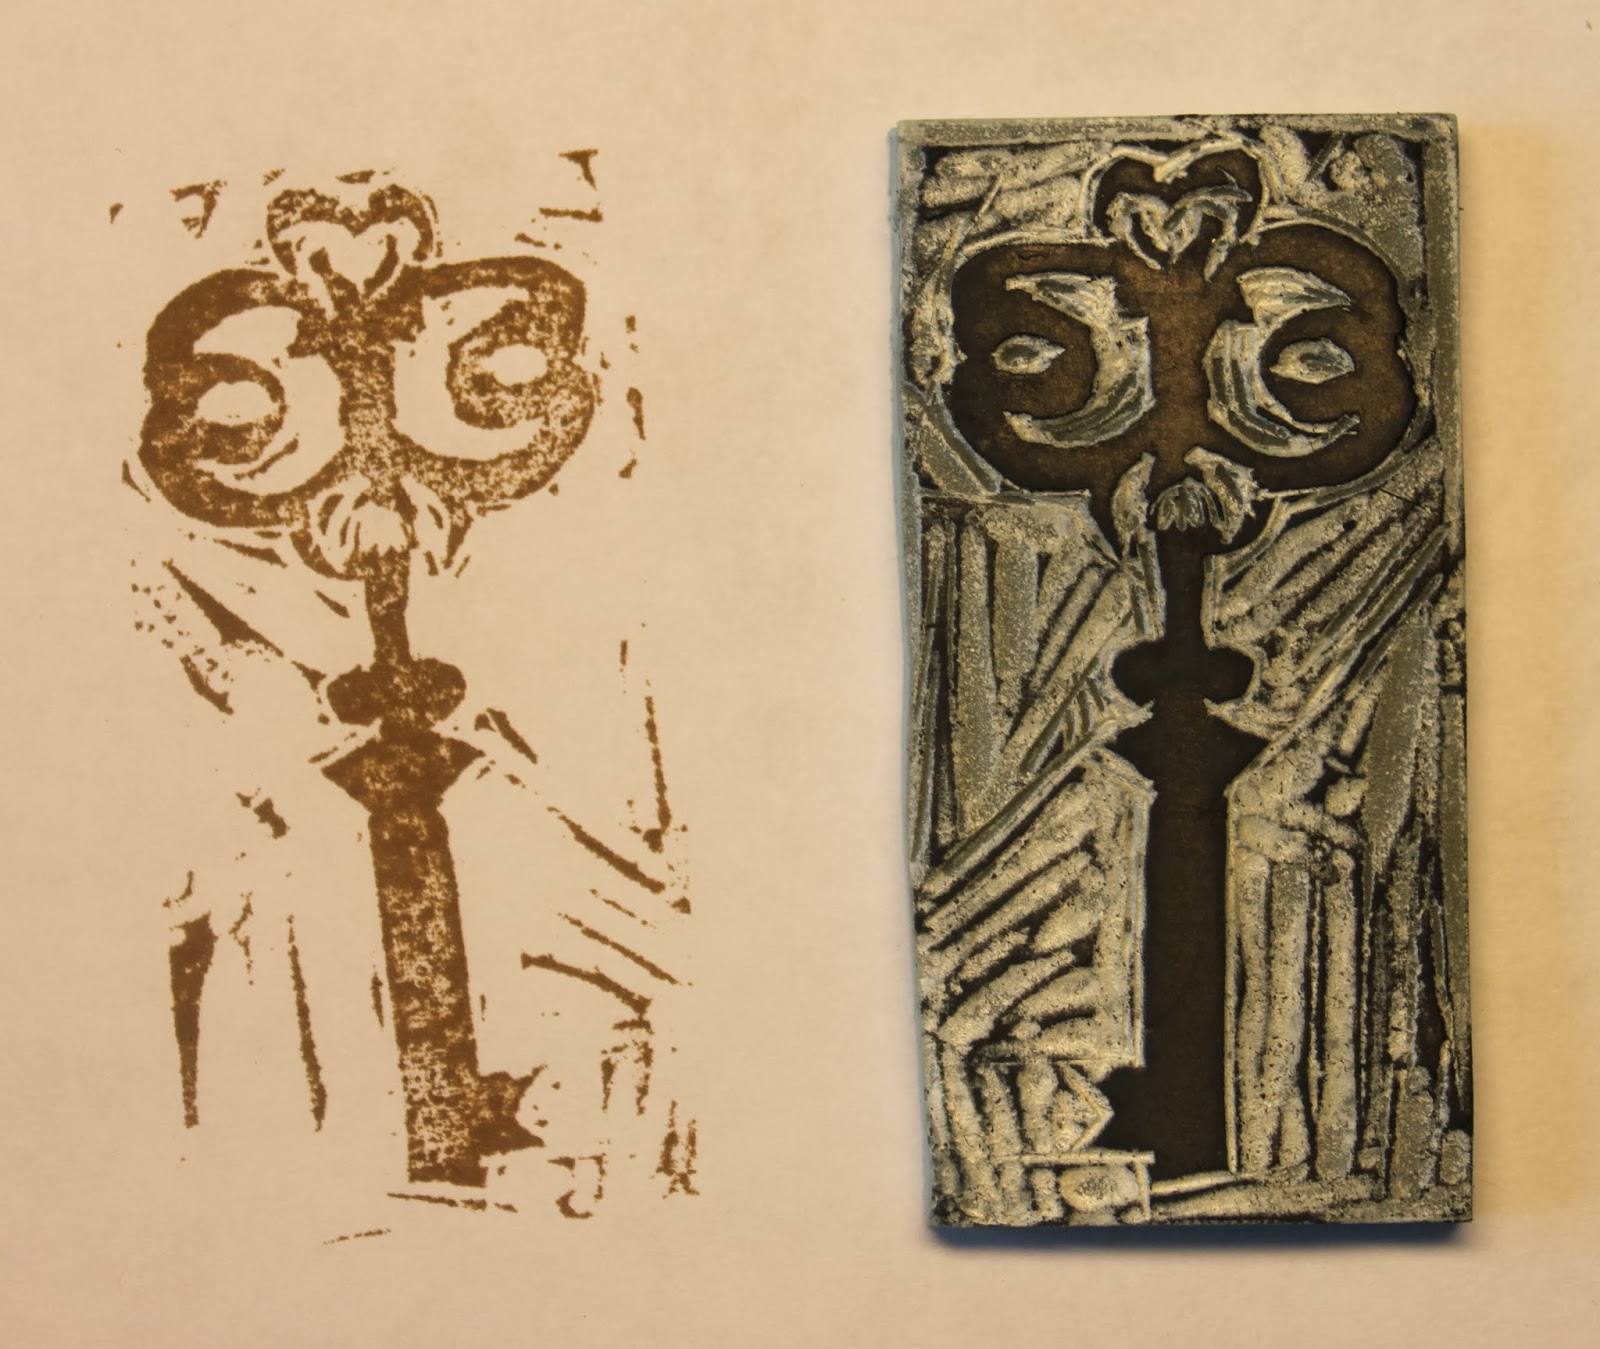
Here are all of my stamps so far. I stamped them with archival/permanent ink onto dried out teabags, naturally stained, of course. The one on the bottom left is a border that I made from leftovers of the key stamp. GOTTA USE ALL SURFACES, PEEPS!!! ;)


I believe this is a new addiction hobby.


Just think of the possibilities! Gesso, molding paste, Gelatos, inks, paints, gouache, etc., etc. etc. You'll be able to actually use all of your crap supplies!
Thanks for stopping by, Everyone!

Monday, December 9, 2013

Simple cards with hand- carved stamped images

Hey, Peeps. This is just a quick post today, featuring my latest cards. I don't know about you, but sometimes it takes me FOREVER to make a card. I sit at my craft table and obsess about the Perfect Design. Then it takes me SO LONG to make my embellies, because I really get a kick out of making them myself.
Well, these cards are a departure for me. I decided to keep them simple, partly because they're thank you notes that are WAY overdue. 

In this one, I used a linen flower, cut with my Sizzix die. The panel is made by stamping with my hand-carved key stamp, and embossed with white embossing powder. Then I tied it with a little vintage ribbon. I lined up my "thanks" letters (which pretty much are permanent on my acrylic block because I like the look and I'd never be able to line them up straight again) and stamped. I inked the edges, and that's it, Folks. Sometimes simplicity is better.


This one is a similar design, with a little bling in the center.


I did decide to do something a little different with these, however. Many friends have told me that it's a shame that my cards can't be used again. Well, now they can. I used a little hand-carved stamp design in the inside of this one, but then I inserted my note. That way, my friends can keep the note, but send the card to someone else. I am thrilled that they can recycle these. Why didn't I think of this before???


Here's one of the note inserts.


Here's the other one.


And, that's it. Sweet and simple. And, around the holidays, that works for me.


Thanks again for looking.