Saturday, August 6, 2011

Pay Dirt!!!


Today was almost as awesome as you could get. I found the motherload at a community yard sale. I stole bought a solid wooden chair, sturdy oak table, 2 unstained wood panels, 2 small wooden shelves, an unusual, ornate printing block, 2 silver platters, 2 mirrors with beautiful ornate frames, a brand new lantern cord, and an oak chest of drawers, all for $41. Plus, I sold my French chest of drawers and a French sign. Plus, I picked up a dry sink in excellent condition right up the street for *FREE*. It only needs 2 nails, and of course, some chalk paint, so I was tickled pink, or Old White, or Paris Gray. I have my work cut out for me, and I'm SO looking forward to it. 
The dry sink:
The chest of drawers:

This needs a little sanding, minor hardware tightening, and waxing of the drawer runners. Then, I can go to town.
Half round table (which is currently mixed in with everything else):
Wooden shelf, which was expertly dovetailed by a cabinet maker, who told me that he lives right around the corner and has lots more where that came from, and that he'd cut me a deal if I was interested in more. Did I just just die and go to Craft Heaven???
Here is the latest project.

I am so into keys lately. I just love 'em. I've been feverishly designing and love using them in my furniture decorating. This is an original.
I painted the board white, then put the vinyl key on top and painted over it with Martha Stewart Geyser. I decided it needed something on the border, so I cut out words in French and applied the vinyl.


I can't stress enough how important it is to center your design. It would be a real bummer if you placed your vinyl on crooked or off center. Of course, I would never know about that. Once your vinyl is in place, you can't pull it up and re-position it unless God was looking down on you with even more Favor than he already does.


This is also extremely important. You must burnish all of your letters. This keeps the paint from seeping underneath, thus messing up your intricate design. Once you've burnished it, go over it again just in case.

Now you're ready for the fun part. Paint it. I tend to use a dryer brush because I don't want the paint to seep under the part that I forgot to burnish.
  
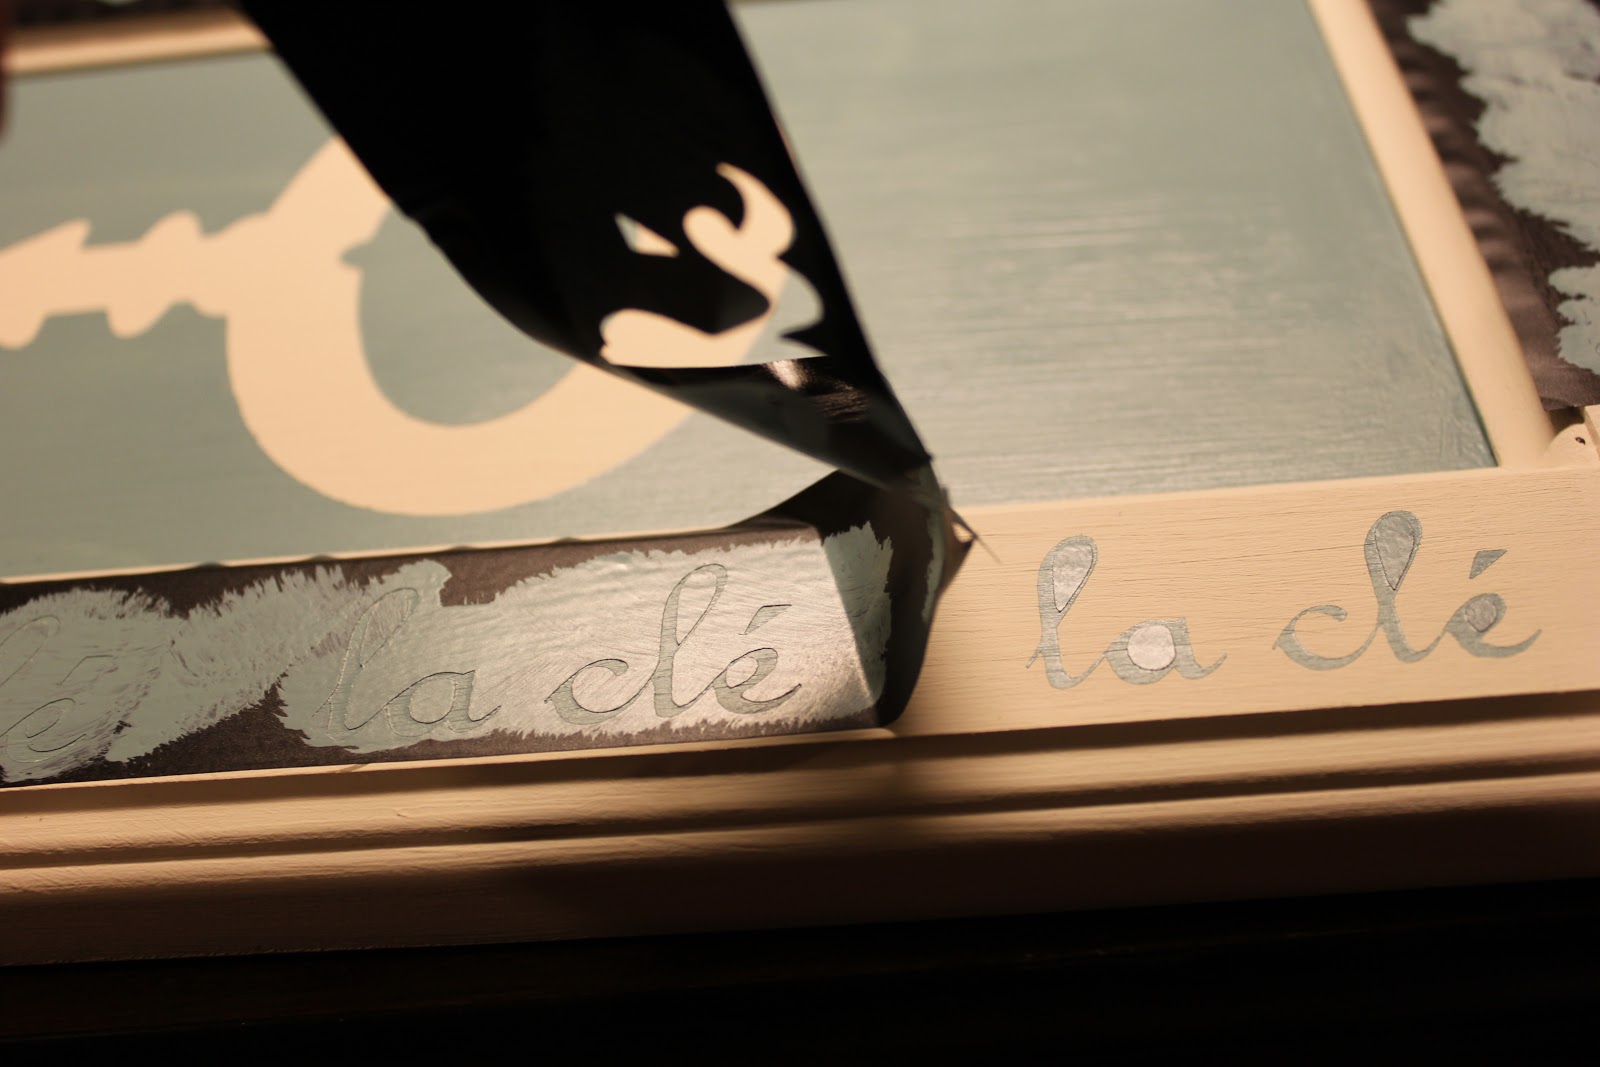
This is the second really fun part. Pull up your vinyl, taking extreme care not to let it fall back onto your letters. Also, remember that the paint may still be wet (I like to do this before the paint is totally dry so the paint is a little bit more forgiving). I like to "collect" my vinyl as I go by crumpling it up in one hand.


Then, carefully pull up the letter inerds. Remember that your paint may still be wet, so be careful.


 I just love how intricately you can make a design with vinyl. It gives it such a delicate look. 
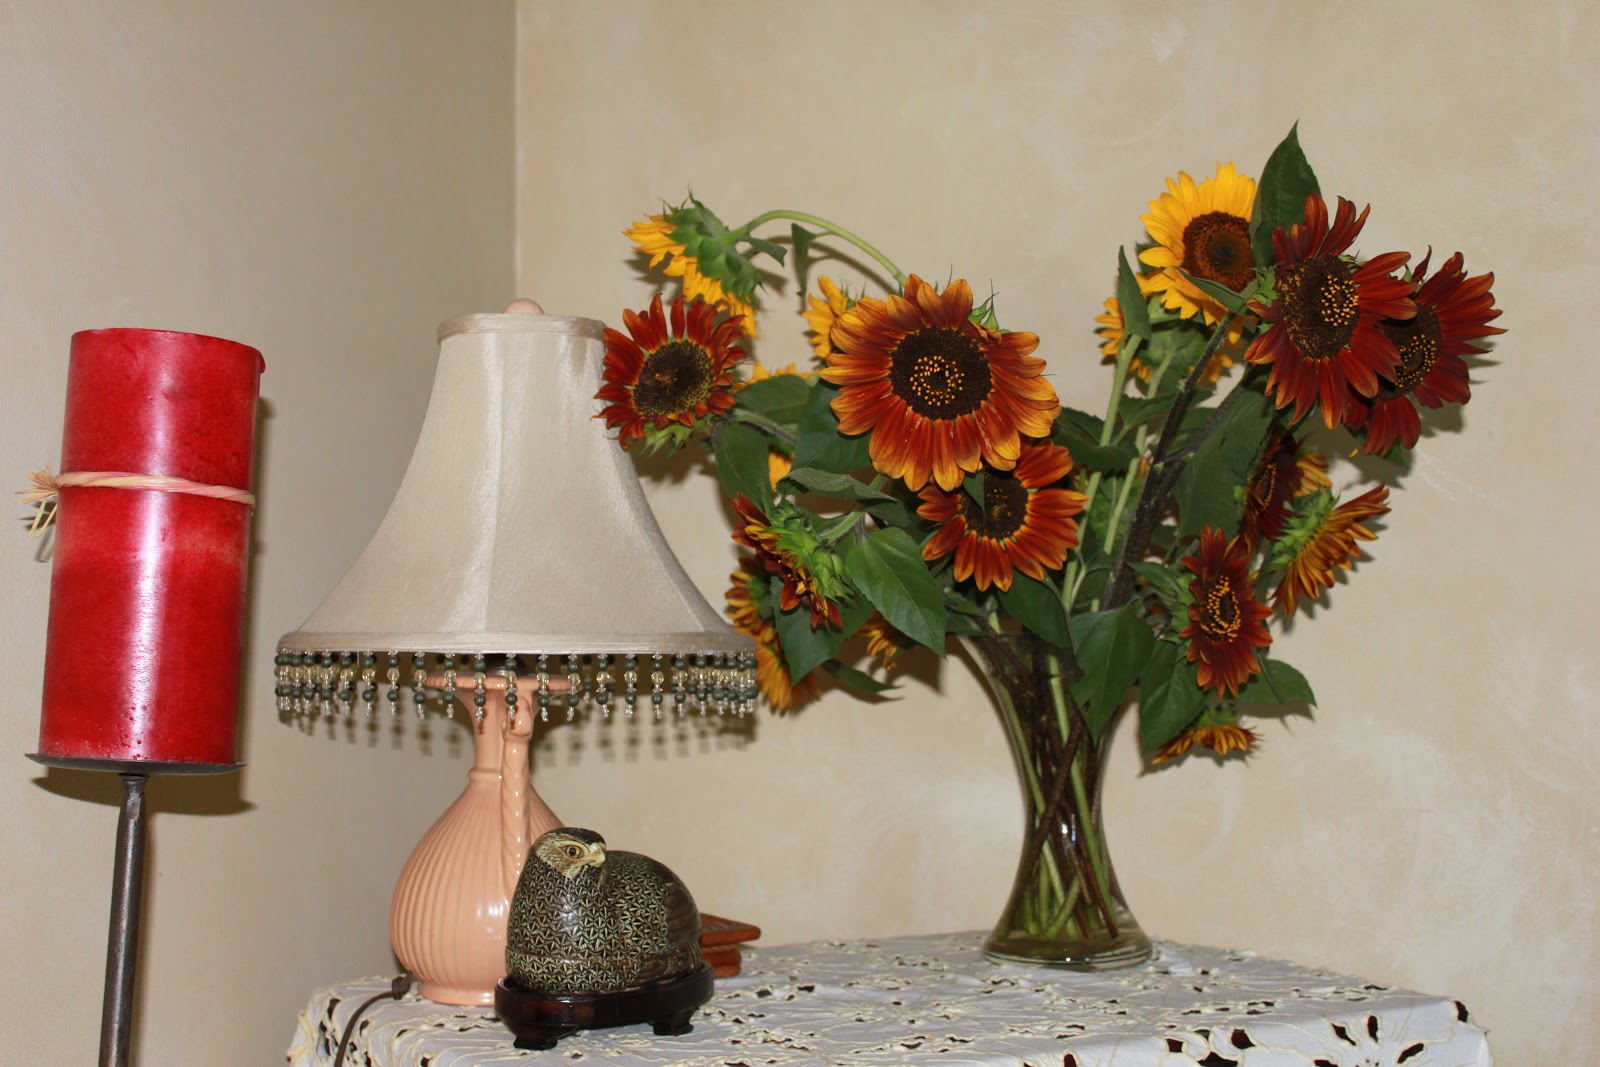
And, here's the finished project, complete with some mahogany and oak Briwax. Do you like it?

Thanks again for stopping by. I'm thrilled that you all like my stuff! Fondly, Tami
Today, I'm linking to:
Dittle Dattle
Coastal Charm 
Handy Man, Crafty Woman 
Beyond the Picket Fence

Thursday, August 4, 2011

Twin tables

My mom and I went thrifting yesterday. We went to a place that supports the local prison ministry. I am so happy when my money can go to a good cause. Mom and I had a great time. And, I landed these two adorable tables for $2.50 a piece. They are light but sturdy. I had them home for about 2 hrs. before I started working on them.
I'm starting to develop an inventory for when I sell all of these little goodies. I have my French painted chest of drawers for sale at the local scrapbook retreat house. I'm going to give a few signs to my friend who sells her hot sauce at a local farmer's market. And, these little gems are going to go to the local coop store when they accept my application and have an opening. The problem is that I want to keep everything. Ugh.
So, here they are after a light sanding:


I decided to use one of my original key designs, cut out with vinyl. I base coated the top with Paris Grey chalk paint, applied the vinyl key, and painted over it with Old White chalk paint. I removed the key, and voila! Then, I waxed the top with oak Briwax, sanded it, painted the legs with Old White, and here they are:


You can see that some of the grey came off and revealed the white sanded part underneath, but it gave it a more rustic look. I loved it!


I'm quite smitten with them. Let me know what you think! I love to get comments!
And...I'm hopefully going to finish the coffee table this weekend. I SO can't wait to post about it!
Fondly, Tami

I'm linking to Saved by Love Creations 
and Beyond the Picket Fence
French Country Cottage 
Common Ground 
No Minimalist Here 
At the Picket Fence
Remodelaholic
Spunkyjunky
Saavy Homemade Monday

Sunday, July 31, 2011

DIY Cupcake Stand

We had a lovely birthday/graduation bash last night, however, there are no pics of our peeps. What's up with that? I believe that my blogging mindset has spiraled out of control where I think only of decorations and not people. Have I become a FREAK? I guess if I have, you're all going to have to forgive me. 

HubbyDoc feverishly cut, stripped, and arranged flowers. He is quite the gardener. I, however, am not. We love taking garden walks in the spring. He gets excited when his baby seeds start sprouting as he envisions the burgeoning crop of flowers to come. One day, I decided to help HubbyDoc by doing some weeding. We hadn't yet mulched, and the weeds were coming in thickly. When he got home from work, I proudly announced to him that I had done some work for him in the garden. Grateful, he and I took our garden walk after dinner. We arrived at the back garden when, in astonishment, he questioned, "What happened to my Egyptian daisies???"


Oops.


He did end up forgiving me. Now, I only pull out thistles.


Here are some of the fruits of his efforts.


The house looked like a flower shop, but I'm down with that.
However, in the midst of the home-infested flora, I was quite proud of this.


Youngest has been watching Cupcake Wars, and has been inspired to bake. Here are her now-famous chocolate cocoa cupcakes. Several weeks ago, she and I were trying to decide how to display them on the table. It's difficult with cupcakes, because you can't stack them, and they take up so much room. In a moment of sheer inspiration, I thought of taking 2 glass table toppers- you know, the ones that are made for the particle board tripod tables that you cover with a tablecloth, and elevating one using 4 of the 12 champagne glasses that I got at a thrift shop for $2 (*score*). I used sticky tack to adhere the top layer of glass on the champagne glasses (that were turned upside down with curled ribbon inside). I added a few die cuts that I made with my Cricut for a little extra decoration.


Youngest decorated the cupcakes with pink icing, a sprinkling of sanding sugar, and a chocolate tube. They were the hit of the party.


She also made the house more festive by hanging pink and white crepe flowers.


Today, HubbyDoc and I did the dishes, I did a quick sweeping, and now we're chillaxin'. Thanks for stopping in.
Fondly, Tami
I'm linking to DIY Home Sweet Home Project, BoogieBoard Cottage, Dittle Dattle, and Making the World Cuter.
Also, Beyond the Picket Fence