
Hey, Peeps. I should have been working on an entirely different project, but I was quite distracted and wanted to make these today. No, I haven't planned on doing them for a long time. As a matter of fact, as I was sitting down to work on the other project, I looked over to my right and what did I see...oh look- SQUIRREL!
I have SUCH a problem staying on track once I sit down. RARELY do I accomplish what I set out to do. I guess you can call me an Artiste.
Start with an old book page. This one was about 6x9" or so.

Fold your page in half so that you can cut two tassels at once.

Shhhh!!! Don't tell my daughter, but the herb snipping scissors she bought me don't work well in the kitchen, so I decided to employ them in the craft room. If you don't have this type of scissors (I believe Martha Stewart has them at Michaels), just use single blade scissors.

Before I started cutting, I pulled my paper gently on the edge of my table. This helps later with rolling because it breaks up the fibers.

Start cutting toward the fold from the open edge, stopping about 1/2 inch from the folded edge.

Do this all the way across the paper. Since it's still folded, you'll be cutting through two layers of paper.

This is what it will look like after the cutting.

Tear the pieces apart at the fold, ending up with two strips of fringed paper.
Take one piece (reserve the other piece for the next tassel) and line the torn edge close to the edge with some glue. I do like Glossy Accents because it is strong and it dries quickly. Start rolling from the edge, using something round to get it started (I used a skewer).

Keep rolling, and after you've rolled about an inch or so, take a piece of string, ribbon, lace, or jute and add the end of the tie to the area that you're rolling. I usually like to add another dab of glue for extra hold at this point.

Keep rolling, and when you get to about 1" from the end, take the other end of your tie and insert it again, making a loop. Add another extra drop of glue. Finish rolling to the end.

Once you're done, hold it while the glue sets. After it starts to become a little more secure, wrap the end with your choice of Washi tape or ribbon.

After I made the first one, I thought of a variation. Before rolling the paper (don't tell anyone that you "rolled papers" today, or you might get some dirty looks), cut some of the edges on an angle, about 1/2 inch from the end. Don't go overboard. When the tassel is rolled, this will give a more organic look.

Once the end is taped, take your tassel and beat it up a little bit. Here, I flayed the ends by pushing them down onto my table a bit. This will also make it look a little more natural and not quite as stuffy.

Here's another "undressed" tassel.

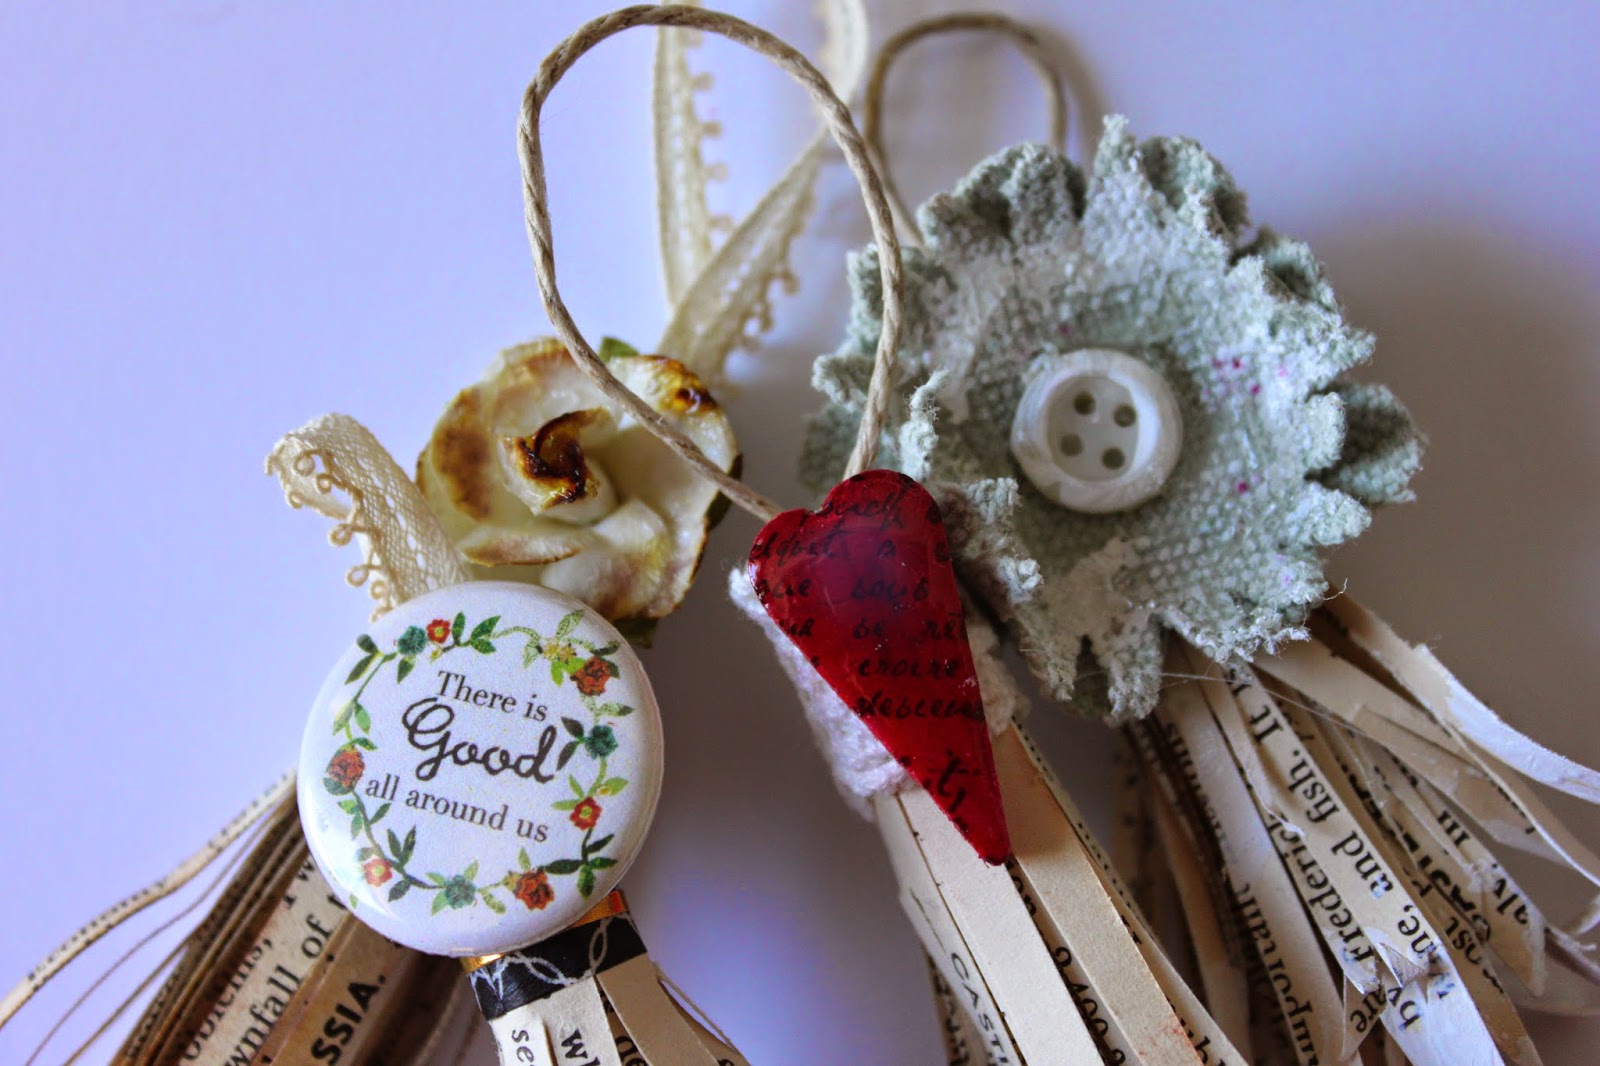
The real fun is to embellish them. This is a little flower from the dollar bin at Michaels.

Here's a hand-dyed, die cut flower, made from drop cloth. Love me some drop cloths.

I just added a pin to this one.

I took the edges of one and swished them into some gesso that I spread out on a piece of plastic.

It just dressed the edges up a little more.

With this one, I just brushed the edges onto a distress ink pad and spritzed them with water.

This one was going to have a heart embellie, so I swished the ends into a red ink pad.

Here is my lovely little collection. I'm thinking of using them to dress my altered journals, hang on my tree (yes, my tree(s) are still up), dress up a cute little package, hang onto my cloche, hang from a lamp switch, etc. etc.


What would YOU do with these?
And, as always, thanks for reading!
Fondly, Tami
I'm linking to :


