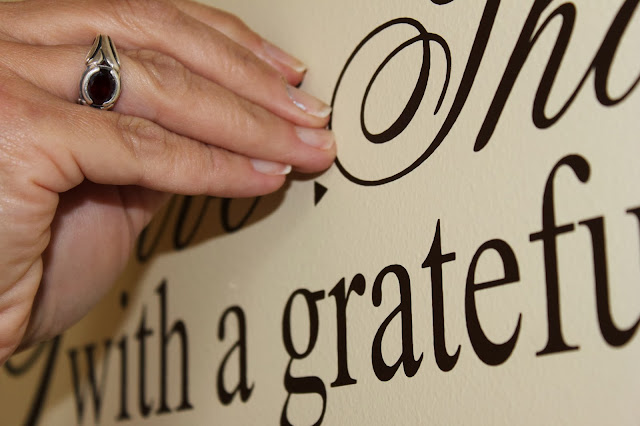
Hey, Peeps. I'm here today to answer that age-old question, "How do I apply my vinyl decorations to my walls?"
Vinyl is so hot in the home decor market right now. I LOVE decorating with vinyl because it looks like you've painstakingly painted it on your walls (or mirrors...or furniture...or doors...etc.). The other very cool thing is that when you get tired of it, you just peel it off. It's generally inexpensive, so you get a lot of bang for your buck.
Here's how to get started.
My vinyl comes with transfer tape already applied. When you receive it, take a firm card like a credit card. Here, I used my Pampered Chef scraper. Scrape from the center out. You don't want your transfer tape to bunch up and scrape your lettering or design.
Carefully and slowly, lay the design on a flat surface and pull the transfer tape off of the front.
Keep the design flat and SLOWLY peel.
Line up your center marks on your wall. I often just put a little pencil dot on the wall, top and bottom (so it's straight) where I want my center to be.
Press the top and bottom in the center, making sure that they're lined up correctly. At this point, you don't want to press your design on your wall. If it's not lined up, lift up the bottom of the transfer tape and re-apply it.
Check to make sure it's straight (did I make my point?).
Now it's time to smooth it out gently on your wall. Use the scraper to gently press the top of the transfer tape.
Pull the transfer tape gently at a sharp angle. If the design sticks to the tape, roll the tape back onto the design, burnish gently on the wall, and start pulling the tape off again.
Keep pulling slowly. You don't want to rush the process.
Keep pulling at an angle, resisting the urge to speed up the process.
See these little registration triangles? They really aren't a part of the design. Go ahead and peel them off.
And, voila! You're left with a beautiful design that looks hand-painted. And, when you get tired of it, just peel it off of your wall.
Please note that wall words and vinyl designs should only be used on cured surfaces, so if you've recently painted (within the last month), don't apply them until you know your walls can take it. I have vinyl all over my house, and I love it.
And, if you like this design, you can find it in my
Etsy shop. I can also do custom orders!
Fondly, Tami


.jpg)


