Sunday, March 9, 2014

Super Fun Alcohol Ink Stencil Techniques

Hey, Peeps. This is a picture intensive post, so stick with me! I also have an offer in the end. 

So, it took me a while to get on the Alcohol Ink Bandwagon. I decided to play with some stencils, alcohol ink, and shrink plastic.
I'm probably going to turn these into fused glass, but that will be another blog post. Stay tuned. 
Anyway, I just started with a square of shrink plastic. I punched a hole first (very important if you plan on putting it on a jump ring later).
I inked it with some red, orange, Snow Cap white, and Silver. I also used a little bit of blending solution so it would spread well.


I wanted to use a contrasting color so the stencil design would show up. This time, I did not use any blending solution, because I thought that would cause too much "roll under" with the stencil, and I wanted my design to be a little more defined. 


I used my Swirled Clef tag stencil, which is available in my Etsy shop here. I dabbed through the stencil with the blue alcohol ink.


Now keep in mind that this technique is not for the crafter who wants a very crisp, defined image, because the alcohol ink is very fluid and can't be controlled as well as a thicker medium like paint. Here's the square before shrinking.


And here it is after it was shrunk.I wasn't real thrilled with the colors, and I had another idea.


Here's another square that I inked with alcohol ink, and then I stenciled the numbers "38" (my house number) through my Grunged Numbers tag stencil. I wanted it to stand out, so I used Snow Cap white and some silver.


I inked only on the corner of the felt, because I wanted to be able to dig into the stencil to ink the plastic well. 


The 38 showed up, but not well enough, so I outlined it with the Scarlet Lime doodle pen. I swear, this pen will doodle in mud. 


After I outlined the numbers, I added a small shrink art heart, and doodled a little bit more. I'm going to hang this from the spine of an altered book. *Excited*


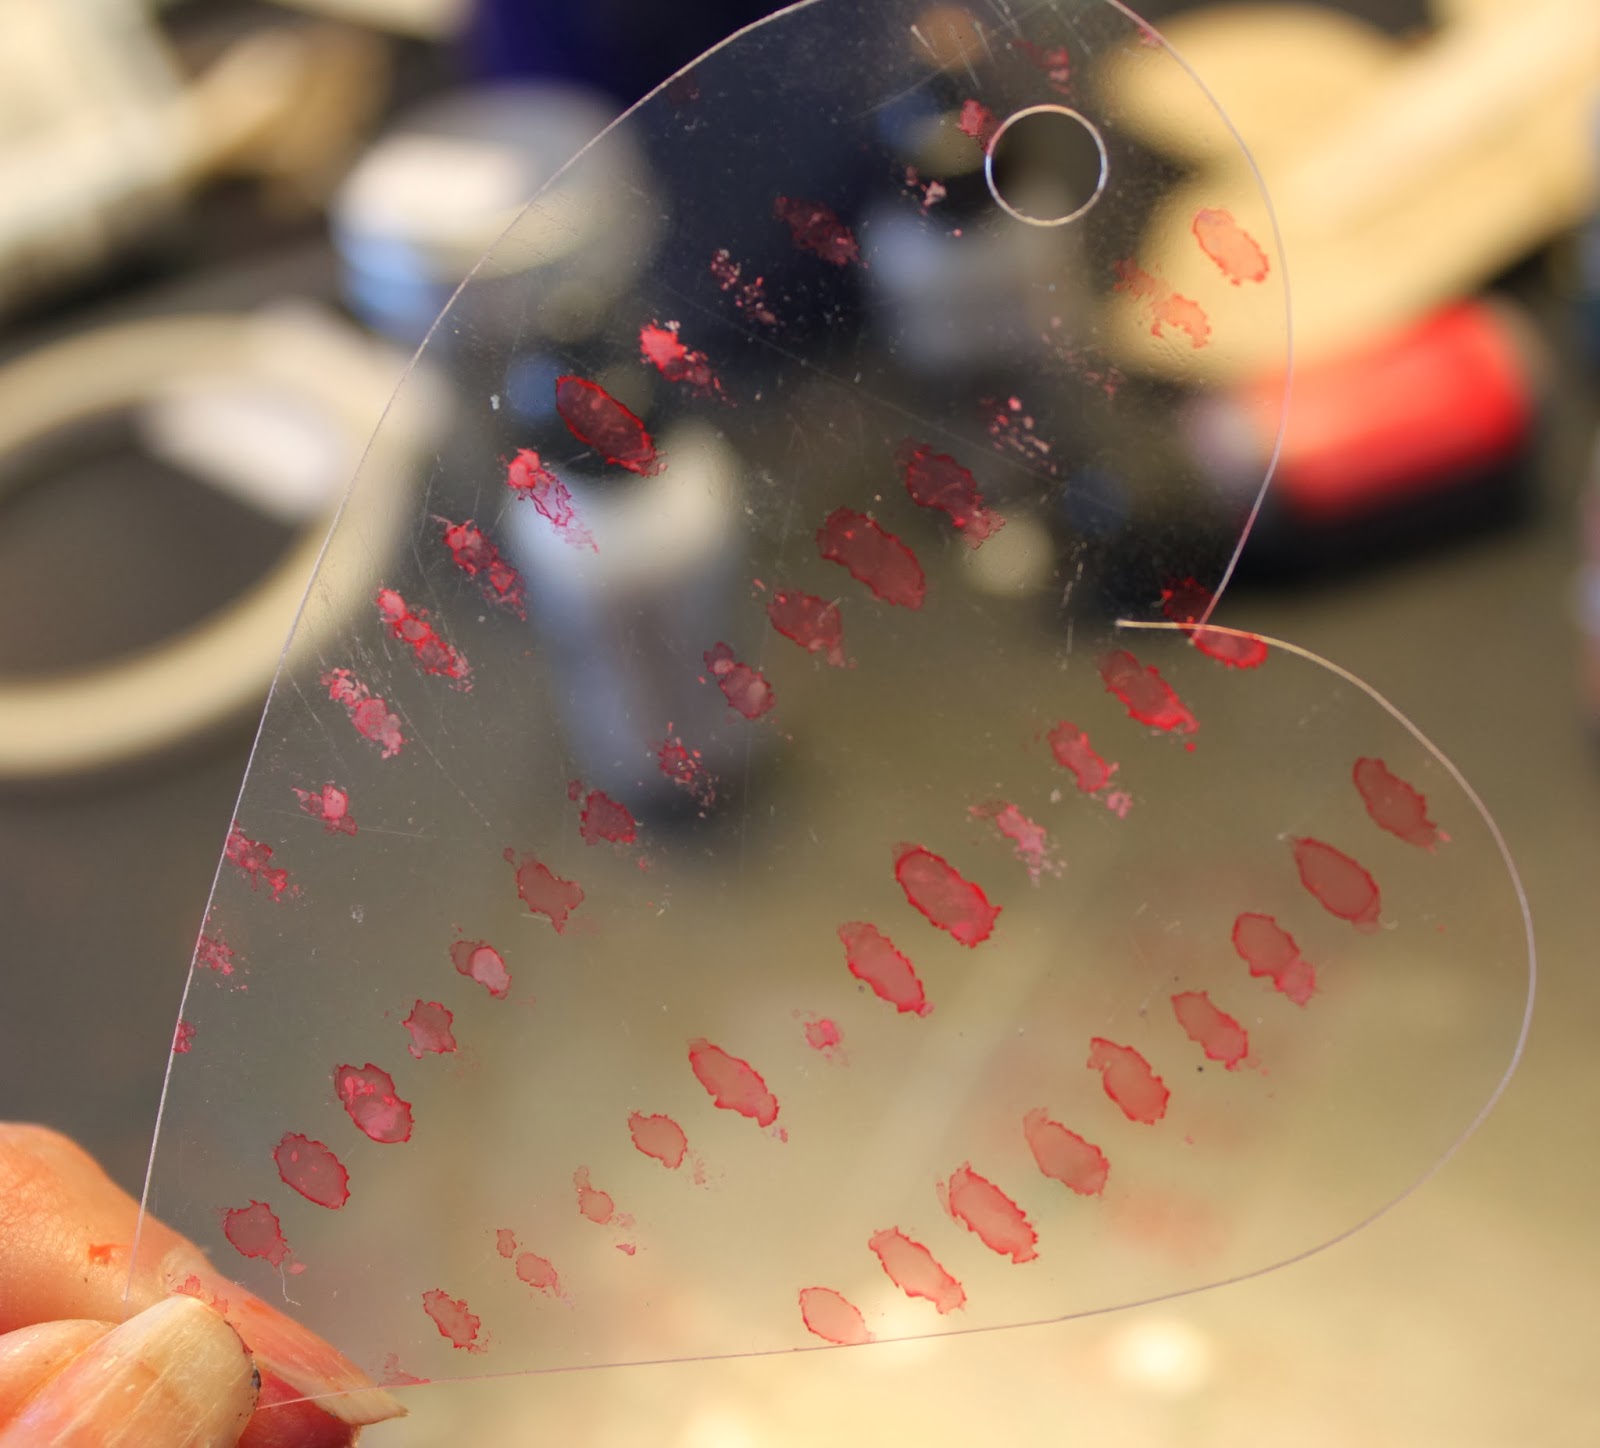
Then I thought to stencil on plain, uncolored shrink plastic. So, I stenciled through my Stretched tag stencil with red.


I cut it up into a rectangle and two hearts. 


Keep in mind that the alcohol ink intensifies in color once the plastic is shrunk.
This heart picked up a little color off of my mat, but I'm OK with that.


Here's the little one.


And here's the rectangle. Shrink plastic will shrink the way it wants to. You need to come to grips with that.


Then I thought, "Why not try two colors and patterns?" So, I started with my Rectangular Grid tag stencil, inking with some red.


Then, I turned the plastic over and inked some white through my Hearts Galore tag stencil.


I did the same thing as before, inking just the corner of the felt for good control.


Here's the panel.


I used my scallop punch to punch out this lovely shape.


I punched a hole into a rectangle to be able to add a jump ring.


And, because I wanted some of the hearts to stand out, I doodled with my Scarlet Lime pen before I shrunk it. Imagine doodling microscopic hearts after they were made teenie tiny.


I shrunk the shapes using my heat tool.


Again, they will shrink however their little hearts please. This is not an exact science. 


And, here is the front of the shapes with the red grid.


And the back with the hearts.


Here's a close-up. I love the layered look, and I'll be doing this a lot more.


And, every craft room should have a puppy. Just sayin'.


And, during the month of March, I'm offering a free Scarlet Lime doodle pen for orders of $25 or more in stencils (excluding shipping costs) in my Etsy shop. Just mention that you saw this post, and I'll include it for free. 
Thanks for reading!
Fondly, Tami


Tuesday, March 4, 2014

Another Stencil Giveaway!

Hey, Peeps. Here's a new stencil design, available in my Etsy shop. I'm excited about all of my latest designs, and I can't wait to make some more samples for you to see the versatility with stencils.


And, I am hosting another stencil giveaway! Just go to my Facebook page and enter. Here are the specs:

I'm offering 4 tag stencils (8.5x4.125 sized)- winner's choice! All you have to do is share this post, leave a comment saying you shared it, and let me know which 4 tag stencils you'd like. No strings attached! And, I will ship internationally as well. This giveaway will end at 5 PM, EST on Fri., March 7, 2014. Good luck!

Fondly, Tami

Saturday, March 1, 2014

Make More Use of Your Stencils

I don't know about you, but when I have a tool, I like for it to have many different uses.
Here are some techniques that you can use with your stencils that are just slightly different than the run-of-the-mill use.
I call this first one "Shifting Stencils". This look can give a shadowed look, which is fun, especially with lettering stencils. 
I started out with my Split Circles stencil that you can find in my Etsy shop here. This comes in an A10 tag size, as well as an 8x8".
I just used a piece of cardstock, and I marked the corner. 
Then I just used a make-up sponge and sponged some distress ink in the circles (I think this is Fired Brick).


Here's the entire tag, inked up.


Then, I shifted my stencil. You can shift it any way, but I chose to shift it up and to the left, using my initial registration mark as a guide. This works especially well if your stencil is more random.


Then, I inked the stencil with a contrasting red (Ripe Persimmon, I believe). It gives a really cool shadowed look.


Here's another technique that I call "Rotated Stenciling". I stenciled the circles in Peacock Feathers, then I rotated the stencil 90 degrees and inked through the stencil in a different green. 


Then while the stencil was still in place with the second color, I spritzed it with some water. 


I dabbed some of the water off.


And here's the look.


And don't forget, you can use your stencils to doodle. I did some random doodling on one of the colors.


And then I cut it up to put on a card. I added some rubons on the top, a merci sentiment that is elevated with some pop-dots, some washi tape, a button, and a little bit of doodling. 


Here's another look at the shifted stencil technique with my Grunged Numbers tag stencil. I started out with Black Soot Distress Ink. 


Then I shifted it and used Peacock Feathers. This has a very cool look, and almost makes me think I have double vision. 


That's it for today, Folks. I hope this inspires you to keep on making art!
Fondly, Tami

Wednesday, February 19, 2014

Cancel Your Trash Service!!!

Hey, Peeps. I just finished up a rousing weekend at the Cozy Crop House, teaching a Gelli Plate class. 
One student said after doing mixed media, that she was going to cancel her trash service, since you can use just about anything in mixed media. Ha.
We had a blast making lots and lots of prints with my original stencils, available here in my Etsy shop. You won't find these anywhere else since they're my designs, so you can be assured that your journals, Gelli prints, and art work will be unique!
Here's a sampling of my designs, already used and colorful from the class.


One day, I unwrapped a brand new memory foam mattress, and I was getting ready to throw out the fabric type wrapping, when I STOPPED myself. WHAT WAS I THINKING??? I knew exactly how I would use it. GELLI PRINTS!!!
So, we made a Gelli print banner for Valentine's Day. 
We made prints on the fabric, and then cut out hearts, using my heart stencil as a pattern.


 Here's my design.


Gotta love layers and texture.


My circle stencil. 


And my Square Swirlies stencil ...


More Hearts Galore for a ghost print....


Painting directly on the Gelli Plate


This gal said she couldn't paint. I would beg to differ. This was one of my favorite prints.


Painting directly on the plate is one of my favorite techniques.


Someone was getting quite artsy.


Brayering over my favorite Faith stencil for a different look.


Lots of very cool designs.


And this "Crowned" stencil was well used.


More, very cute, hearts.


I love seeing how my students make their art their own.


As always, thanks for looking. Up next, a Girlie canvas. Stay tuned!
Fondly, Tami