Wednesday, February 19, 2014

Cancel Your Trash Service!!!

Hey, Peeps. I just finished up a rousing weekend at the Cozy Crop House, teaching a Gelli Plate class. 
One student said after doing mixed media, that she was going to cancel her trash service, since you can use just about anything in mixed media. Ha.
We had a blast making lots and lots of prints with my original stencils, available here in my Etsy shop. You won't find these anywhere else since they're my designs, so you can be assured that your journals, Gelli prints, and art work will be unique!
Here's a sampling of my designs, already used and colorful from the class.


One day, I unwrapped a brand new memory foam mattress, and I was getting ready to throw out the fabric type wrapping, when I STOPPED myself. WHAT WAS I THINKING??? I knew exactly how I would use it. GELLI PRINTS!!!
So, we made a Gelli print banner for Valentine's Day. 
We made prints on the fabric, and then cut out hearts, using my heart stencil as a pattern.


 Here's my design.


Gotta love layers and texture.


My circle stencil. 


And my Square Swirlies stencil ...


More Hearts Galore for a ghost print....


Painting directly on the Gelli Plate


This gal said she couldn't paint. I would beg to differ. This was one of my favorite prints.


Painting directly on the plate is one of my favorite techniques.


Someone was getting quite artsy.


Brayering over my favorite Faith stencil for a different look.


Lots of very cool designs.


And this "Crowned" stencil was well used.


More, very cute, hearts.


I love seeing how my students make their art their own.


As always, thanks for looking. Up next, a Girlie canvas. Stay tuned!
Fondly, Tami

Wednesday, February 5, 2014

YOU CAN DO THIS! MY Craft Room Makeover

I admit it, Peeps. I'm a very messy crafter. Very messy. I do have a wonderful room that I can devote to my hobbies, and boy, do I ever take advantage of it. 
A few months ago, I tried the 20 min. a day thingy- where you set a timer (I mean, who would EVER want to commit to any more time than that) and you work for only that amount of time. Every day. 
Here's what I accomplished in three sessions. The first session was about 20 min. of work. I just picked a section to work in.


This second section only took me about 8 min. I had LOTS of other things to do that day (like shop, eat out, surf the internet...).


And the next day, I only worked on this section for about 20 min.


Not bad, eh? Well, fast forward a few months.
Yes, my craft room was a total mess. There was stuff everywhere. And I mean everywhere. A few weeks ago, I went to a girly craft weekend, and I swore that nothing was going back into my room until everything else was cleaned, put away, thrown out, or burned at the stake. Well, maybe not the burning part. Now, keep in mind that this took me about 2 weeks. Yes, you heard right. But, I wanted it to be cleaned and organized well, and I didn't want to lose heart halfway through. So, I broke it down into sections again. The goal is to keep it straightened, but I AM 54 and I haven't really done that. Ever.

So, this is what I started with.


And this is the before and after split. Hubby thought I had blown up the room and replaced it with a new one.
Here's the before and after split of the table. 
Now, I do have a lot of crap, but I'm delighted when I look around the room and see how I put this together with items from yard sales and such. The main table was given to me by someone who didn't want it anymore. It's solid, and quite a heavy bugger. Since I didn't pay anything for it, I don't mind that it gets be-spattered with paint, inked, or colored with gesso.


The big unit is from Ikea, as are the white bins and canvas boxes (set of 4). 


This thing holds GOBS of stuff. The plan is to re-organize the decorative stuff on the top, but one step at a time! Sheesh, Peeps!


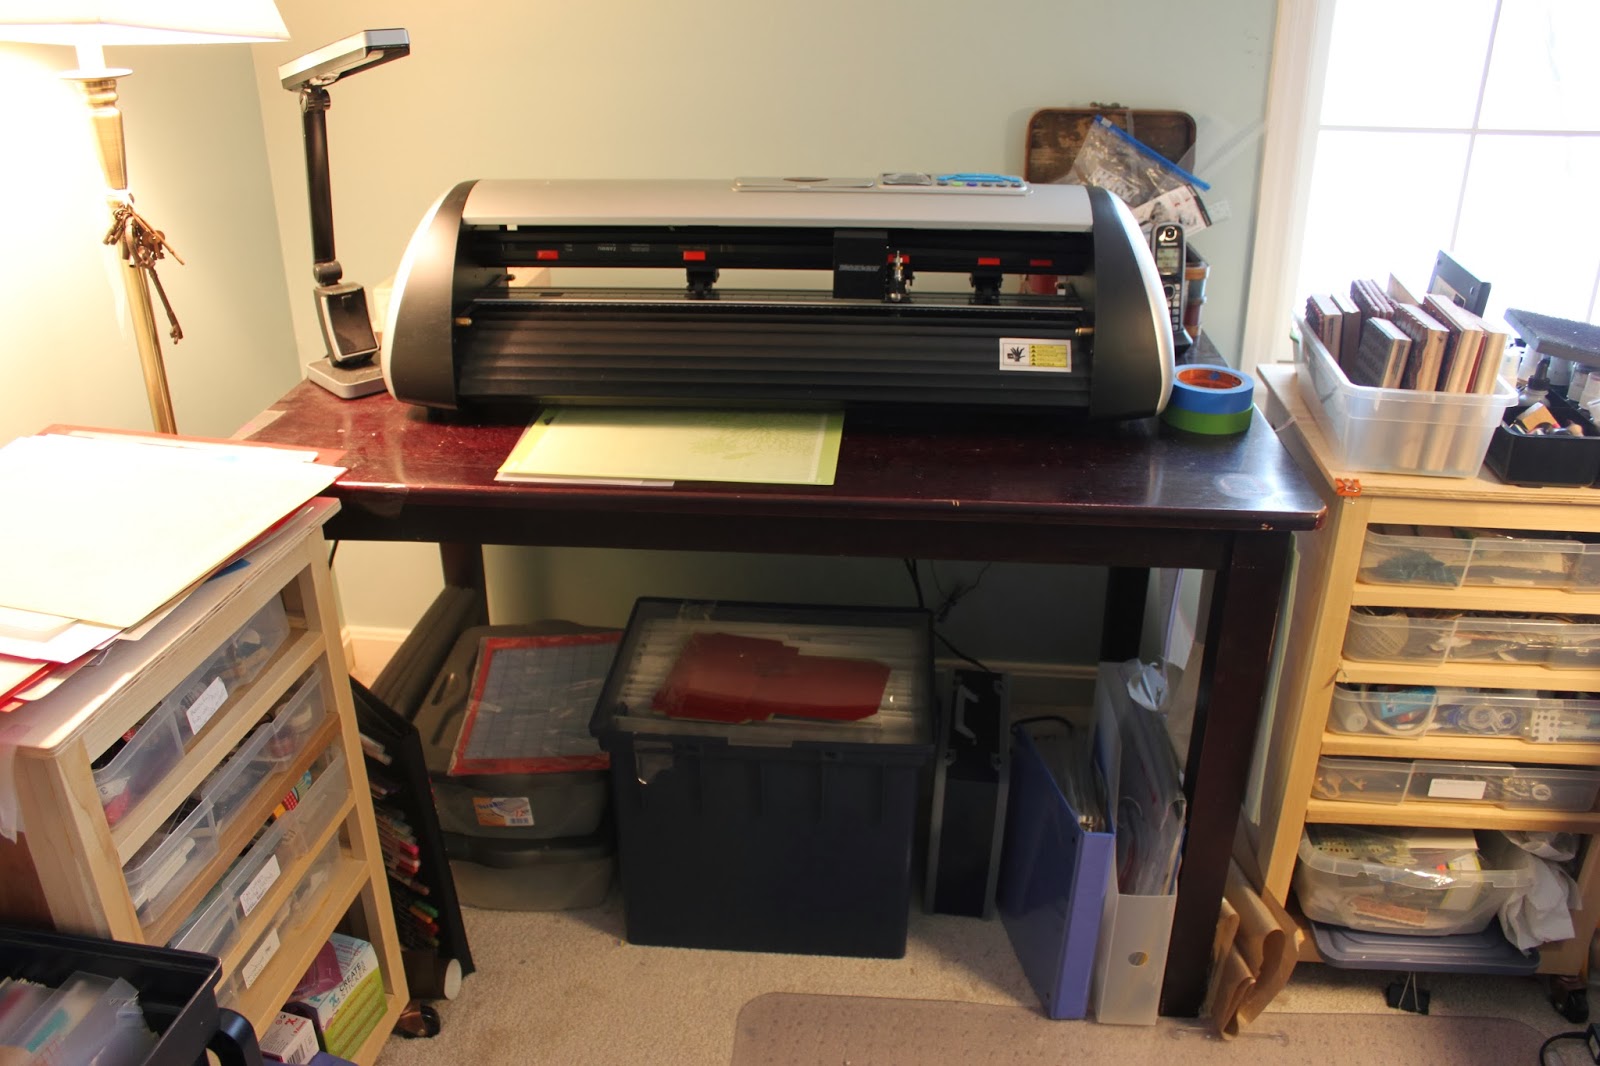
The table that my cutting machine (Black Cat Cougar) is on was procured at a yard sale for $3. Yups. I grabbed that as soon as I saw it, and another customer almost beat me to it. I REALLY didn't have a fist fight. I promise. The chair was on the side of the road for $5. 


Here's another view of the CLEAN table. 


My dad made me three of these carts, and I use every single drawer and cubby.


And here is the monster cutter. This machine is the reason Howsewears was started. I started out with a smaller personal die cut machine, but Hubby encouraged me to buy this industrial beaut. And am I ever glad he did. She can really cut a rug. Seriously.


And yes, behind those closet doors is a very ORGANIZED closet, complete with a bookshelf for all of my books waiting to be altered. You can see a sample here.
My dog can frequently be seen with me in my room. :)


I just think having my brushes, pens, and tools at my fingertips is essential.


And one of the best parts is the view out the window. Every time I think of changing my room around, I re-think it, because if I do, I might lose my wonderful view. This was today, which was a very thick ice storm here in PA.


And these following pics were NOT today, although it does look pretty, huh?


So, that's my little tour, Folks.
Be encouraged! Pick a section. Work on it for 20 min. a day. Or even 8. Or 10. You'll see a big change very soon!
Fondly, Tami

Monday, January 27, 2014

Mixed Media Technique! Textured, Embossed Molding Paste

Hey again, Peeps. I just finished the Online Card Class called "Stenciled", and I've very much enjoyed it. It's a great class even for those who are experienced at using stencils. I learned a few new techniques, and it was a good review of some old ones as well. 
This was inspired by today's class. 
I cut down a piece of heavy weight mixed media paper to just less than what fits on a card (less than 4.125 by 5.5). I like working on panels because if I'm messy, I don't mess up the card base and ruin it. 
Here, I'm using my Hearts Galore Tag Stencil, which you can find in my Etsy shop here.

This stencil has two hearts that are filled with hearts, thus the galore.


I masked off the area that I didn't want to use. Washi or tissue tape is great for this, because it will pull right up.


I slathered on some embossing paste. I wanted this to be very dimensional. 


I didn't want to see any of the little hearts at this point, and that's how I knew I had lots of embossing paste.


I carefully removed the tape and lifted up the stencil to reveal lots of bumpy hearts.


While it was wet, I sprinkled red embossing powder on the paste. Then I set it aside to dry. 

While that was drying, I took my goopy stencil and placed it, goopy side down, on top of a Gelli print paper that I had printed a while back. You can't waste that goopiness, Peeps! I placed a piece of paper over the stencil to rub it into the Gelli print.


I lifted up the stencil to find some lovely little ghost hearts. They weren't absolutely perfect, which is really the look I was going for. That's my story and I'm sticking to it!


I added more embossing powder/


And, here it is, in all it's imperfect goodness.


Then, I went for another "print" with the embossing paste covered stencil. I used a piece of paper to press down.


And this one was a little more "smashy".
I added some more embossing paste, and since the hearts were a little more "open", I decided to try something else. I embossed with red embossing powder first.

Then, I lined up the stencil again, pressed versamark refill into the hearts,


and covered them with this lovely embossing enamel. I love the texture and shine of this product.


Ready to be heated...almost.


One of the hearts wasn't completely covered, so I just colored it in with my embossing marker.


Here it is, all filled in with powder.


And the shine is just so pretty.


I covered a red card with some clear embossing powder over a swirl design.


And I cut out the big heart. I wasn't happy with how "plain" it was, so I just rocked the edge in a Versamark pad, covered the edge with silver embossing powder, and heated away. NOW it looks appropriately blingy.


Shaping up to be a nice embelly.


Lots of dimension.


And here's the final card. I didn't put a sentiment on the front since I think that special "someone" will know what it's about. I'll write something gushy inside.


Thanks for looking, Peeps!
Fondly, Tami
I'm linking to: