Sunday, July 31, 2011

DIY Cupcake Stand

We had a lovely birthday/graduation bash last night, however, there are no pics of our peeps. What's up with that? I believe that my blogging mindset has spiraled out of control where I think only of decorations and not people. Have I become a FREAK? I guess if I have, you're all going to have to forgive me. 

HubbyDoc feverishly cut, stripped, and arranged flowers. He is quite the gardener. I, however, am not. We love taking garden walks in the spring. He gets excited when his baby seeds start sprouting as he envisions the burgeoning crop of flowers to come. One day, I decided to help HubbyDoc by doing some weeding. We hadn't yet mulched, and the weeds were coming in thickly. When he got home from work, I proudly announced to him that I had done some work for him in the garden. Grateful, he and I took our garden walk after dinner. We arrived at the back garden when, in astonishment, he questioned, "What happened to my Egyptian daisies???"


Oops.


He did end up forgiving me. Now, I only pull out thistles.


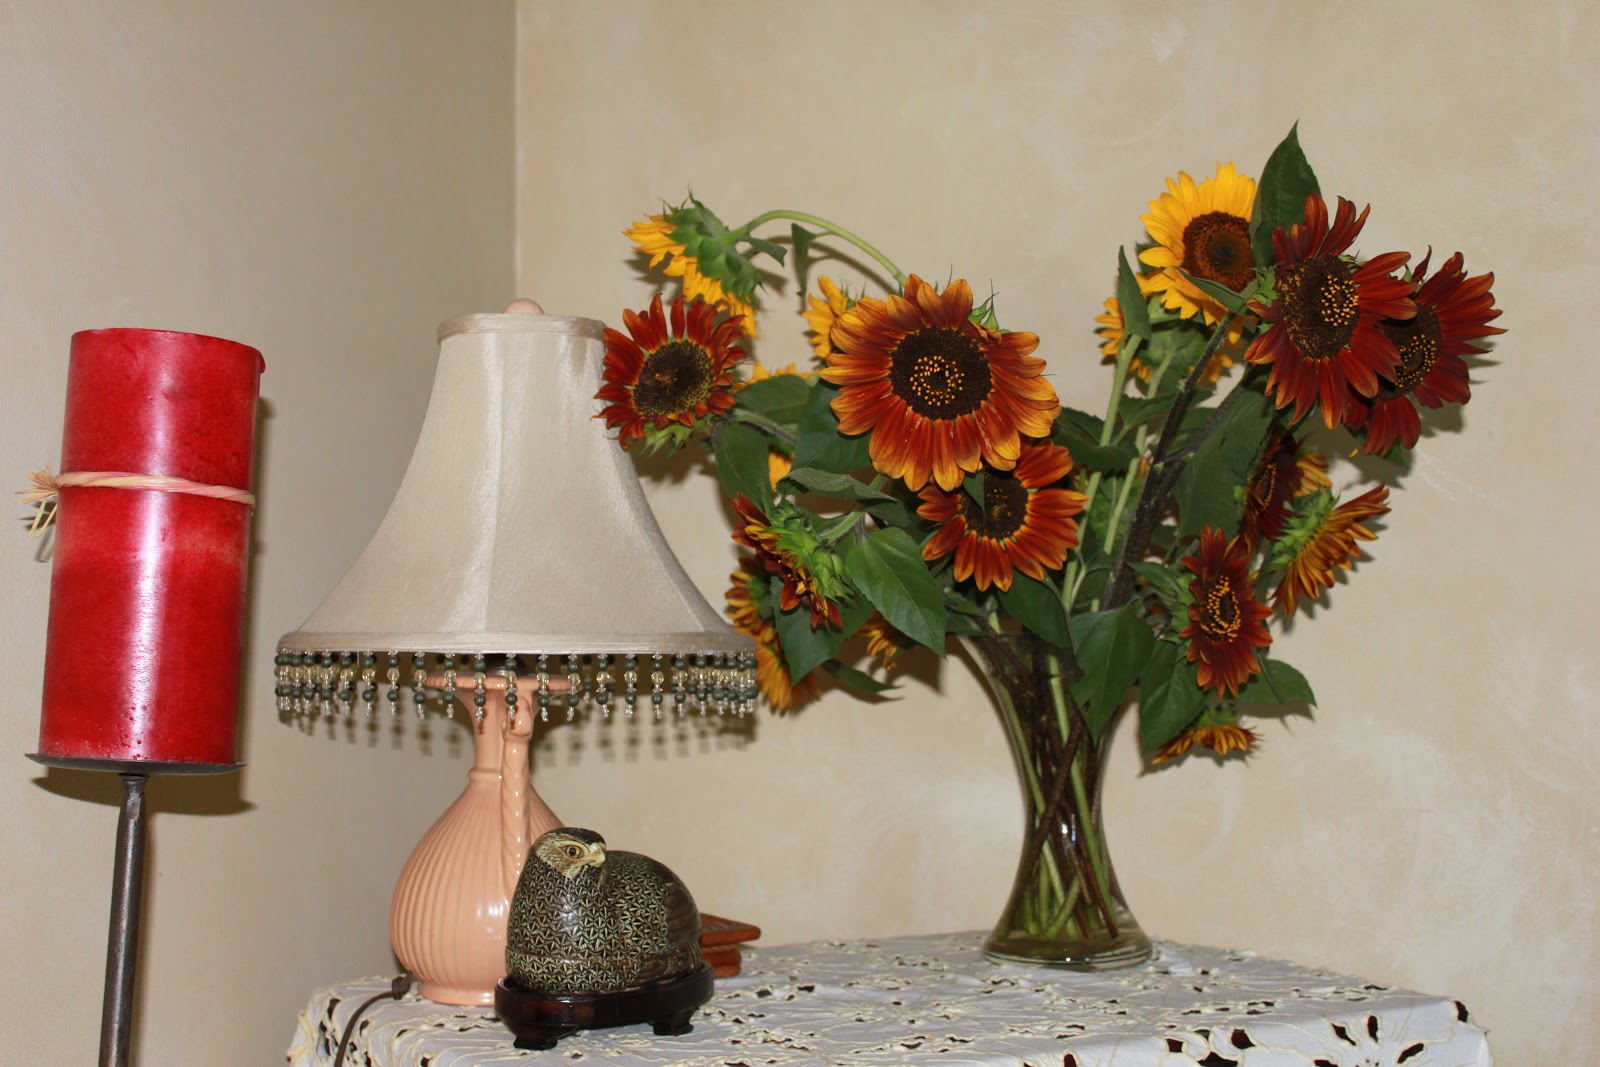
Here are some of the fruits of his efforts.


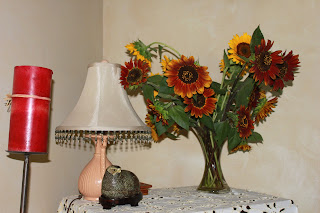
The house looked like a flower shop, but I'm down with that.
However, in the midst of the home-infested flora, I was quite proud of this.


Youngest has been watching Cupcake Wars, and has been inspired to bake. Here are her now-famous chocolate cocoa cupcakes. Several weeks ago, she and I were trying to decide how to display them on the table. It's difficult with cupcakes, because you can't stack them, and they take up so much room. In a moment of sheer inspiration, I thought of taking 2 glass table toppers- you know, the ones that are made for the particle board tripod tables that you cover with a tablecloth, and elevating one using 4 of the 12 champagne glasses that I got at a thrift shop for $2 (*score*). I used sticky tack to adhere the top layer of glass on the champagne glasses (that were turned upside down with curled ribbon inside). I added a few die cuts that I made with my Cricut for a little extra decoration.


Youngest decorated the cupcakes with pink icing, a sprinkling of sanding sugar, and a chocolate tube. They were the hit of the party.


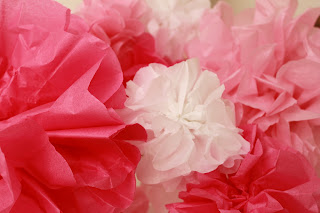
She also made the house more festive by hanging pink and white crepe flowers.


Today, HubbyDoc and I did the dishes, I did a quick sweeping, and now we're chillaxin'. Thanks for stopping in.
Fondly, Tami
I'm linking to DIY Home Sweet Home Project, BoogieBoard Cottage, Dittle Dattle, and Making the World Cuter.
Also, Beyond the Picket Fence


Saturday, July 23, 2011

Cook Book Shelf

Hey, Froggers! I hope you all aren't melting too much in this heat across our country.
I've been wanting to paint this baby for a long time. It's a shelf. I think it used to hold encyclopedias. Remember those? They were volumes of heavy books that you used to use for research projects? Wow, and to think that I have my entire Bible, complete with about 15 different versions, all on my Droid that I can hold in my hand. I still marvel at technology today. But I digress.
In keeping with the tradition of being an incomplete blogger, I didn't take a before picture of this bookshelf. Just imagine that it's a boring brown color- like most of the furniture that you all refurbish.
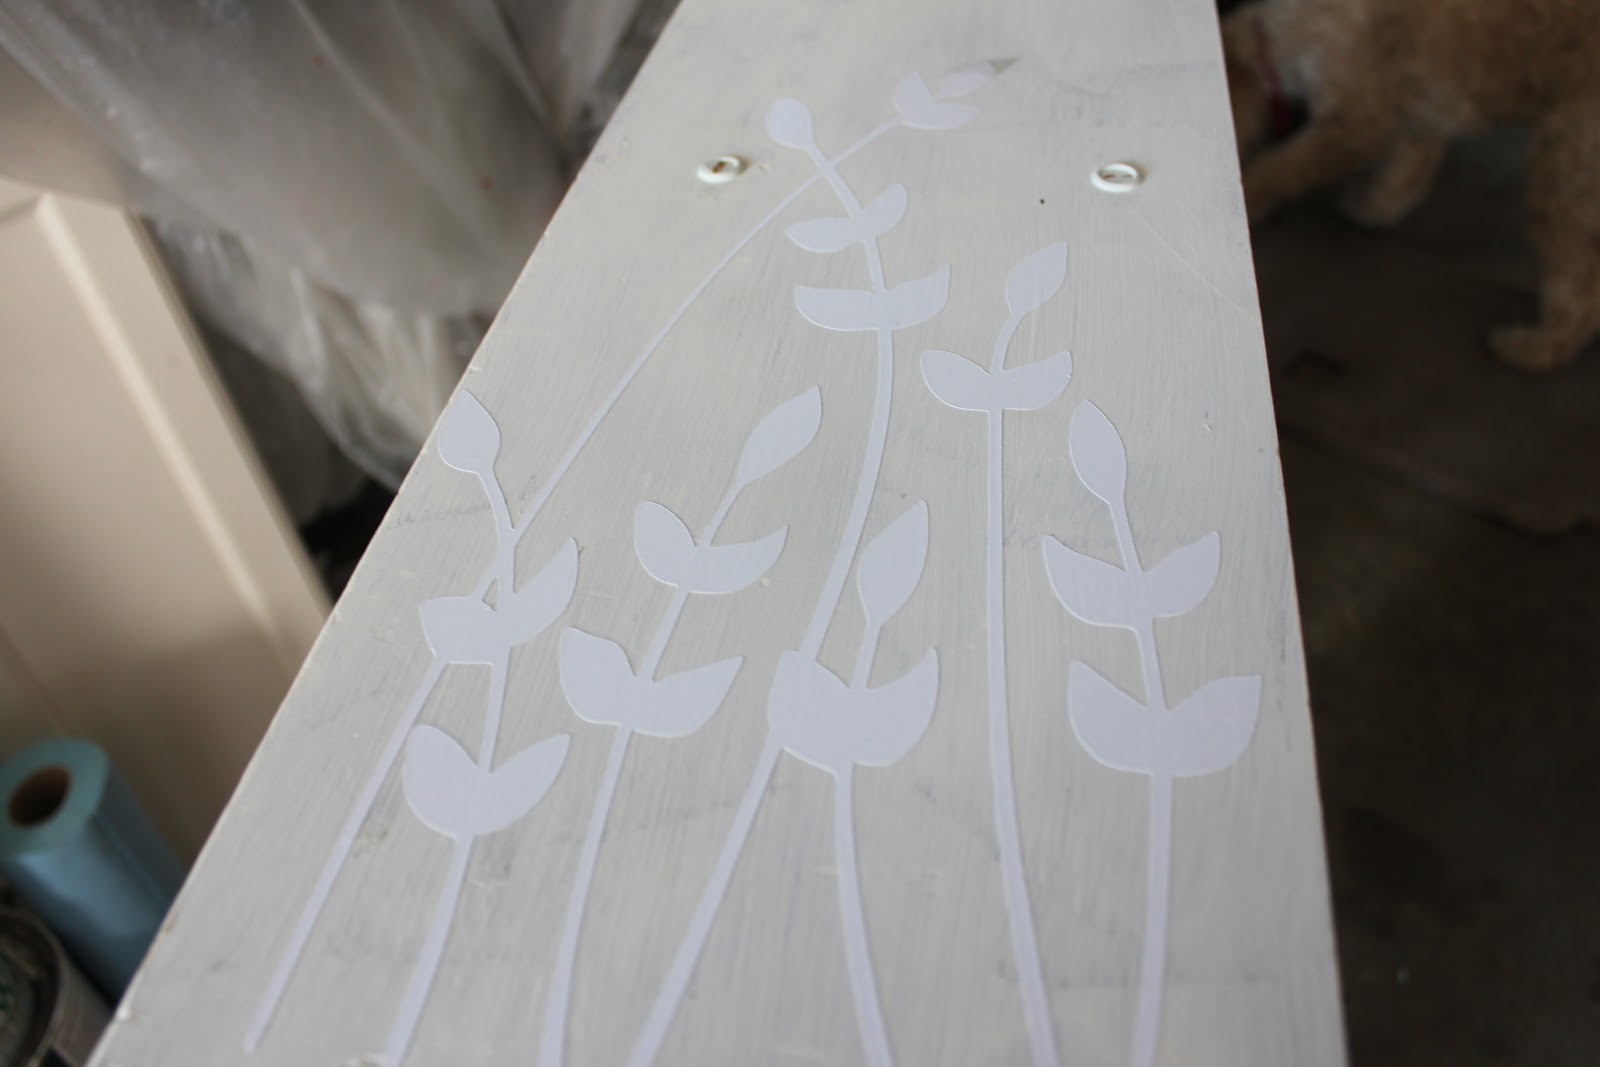
I used Old White chalk paint for the base. I also wanted to have a design using a vinyl resist (my current fave technique). It's important to remember that when you use this technique, that you base coat the piece in the color that you want the design to be.
Here's it is with the vinyl design. I do admit that the design is not mine, but I can't remember where I procured it. If I figure it out, I will def. give credit!

The vinyl was cut with my Cricut, using my Sure Cuts a Lot program. Once I place my vinyl on my piece, I rub it well to make sure the paint doesn't seep underneath.
Then, I paint over it carefully. I used Louis Blue chalk paint as my top coat. Once the top coat is dry (usually just a few hours or so), I pull off the vinyl. This is the fun part since it reveals my cool design.

I then waxed this piece with clear Briwax, buffed it, then gently distressed it.

I may go over it with some oak Briwax, but for now, it's still sitting in my garage waiting to be adorned with cookbooks. However, I need to organize the books and magazines with prettily decopaged magazine holders and lovely book covers. And, we all know how long that's gonna take. Sheesh. There's a hole in the bucket....
As always, feel free to leave a comment. I love to hear from all of you!
Fondly, Tami
And, today I'm linking to Modern Country Style, who has a tutorial on using AS chalk paint. Way cool! Also, Diddle Daddle , Creations by Kara, Craft Junkie too, Funky Junk Interiors, Beyond the Picket Fence and Skip to My Lou, Miss Mustard Seed, and Flamingo Toes. Enjoy!

Sunday, July 3, 2011

Getting Frenchy Again

I just love The Graphics Fairy. As stated in an earlier post, I have several images that I'm going to post in the future- ones from post cards that I received from my mom. As in keeping with the early 1900's, people wrote all the time since it was the primary form of long distance communication. It cracks me up when I read them. Some of them say practically nothing at all, but it's the idea that they were committed to keeping in touch. Stay tuned.

Here's the latest project:
I just love it. I made it to sell, but like so many of you, I also have a hard time getting rid of my creations. I will be opening an Etsy store soon, so stay tuned.

Here's a close-up:
It started out as a plain cabinet door. I painted the interior with Old White chalk paint and the frame the Louis Blue. I printed out the saying from the internet and traced it onto the center using Saral paper.

There were so many intricate lines, that instead of painting it, I used a black sharpie marker. Since I was planning on distressing it, I thought it would work out OK, and it did. After I distressed it, I waxed it with clear Briwax.

Let me say a little bit about waxing since there's a lot of buzz about it in Blogland.
I have not personally used Hennant's wax, but I've seen that it is highly regarded by Annie Sloan Chalk Paint users. I personally love my Briwax. When I started painting furniture and projects such as this one, I gathered my dusty supplies from the bowels of the garage. Imagine my surprise when I found not one, but three cans of Briwax. Needless to say, I was uber excited. Oak, mahogany, and clear waxes were the new items in my arsenal. I now mainly use clear, with oak coming in second, and mahogany a respectable third. They truly add a lovely patina to the chalk paint, as well as durability. I would never use chalk paint without it unless I really liked the "dry" look (which I sometimes do) and the piece wasn't going to get any wear (like a heavily used piece of furniture).
Now on to brushes.
Again, the Blogland Froggers (friends who are bloggers) often tout the miraculous coverage one can get with an expensive Italian brush like this:


Sorry for the crooked view. I think I was trying to be artistic. Anyway, you get the idea. I do like this brush but it's not as fantastic as it's purported to be. It does shed whiskers which you have to pick off on occasion. However, it does get a lot of coverage. I do like it for large surface areas.
But...I used this el cheapo brush (part of a large set of brushes from AC Moore for about $2.00).


Just like the bigger, more expensive brush, this one sheds whiskers as well. But, with only costing less than $1, I'm down with that. This one is truly better than the larger one for smaller, intricate areas.

Cleaning: I hate using mineral spirits, which is what is recommended for cleaning wax from brushes. I did read that one could just soak the brush in plain cooking oil and then wash it out with Dawn dishwashing liquid. So, being the adventurous one that I am, I tried it. Let's just say that I think it works. I've used my brushes about 5-6 times, and so far, I haven't had any build up or clumping. I'll let you know if there's a problem down the road.
So, those are my little tidbits for the day. Stay tuned when HubbyDoc (aka Renaissance Man) lets me know his recipe for chalk paint.
And... I'll leave you with this Frenchy flowery goodness:

Thanks for stopping by, and as always, feel free to leave a message!
Fondly, Tami
And, today I'm linking back to Today's Creative Blog and French Country Cottage
and The Thrifty Home

Sunday, June 26, 2011

Yard Sale Find, Vinyl, and a Little Bit of Paint

Yes, I've been busy, Froggers. On the way to help  my in-laws move, I happened upon a yard sale with *furniture*. You see, I've been really wanting to work on refurbishing furniture for years. However, my schedule and list of other crafts did not allow. Well, I've made the commitment, Peeps! A chest of drawers was calling out to me from the lawn, half encrusted with crap, aka wonderful finds. I screeched my wheels came to a gentle stop and got out to peruse the items. I was excited to see that the chest of drawers was from a non-smoking home and was quite inexpensive. It didn't look like it needed a ton of work, so I bought it. Keep in mind that I was on my way to help move my in-laws and now my trunk was full of my own furniture that needed to be moved. Duh. Oh, well. Fortunately, they had rented a large trailer that required two trips anyway.

You would think after all the projects that I've posted, that I would have gotten a complete before pic, but no, I haven't learned.
Now, I must add that I did see something like this in Blogland, so I can't claim this as an original idea, although I don't know if the Anonymous Blogger (sorry- I'd SO link to you if I could remember who you were) painted the knobs or not. I'll pretend like I'm on the witness stand and say, "I don't recall," which means that I'll take full credit for that part if I want to.

Here are some pics of the drawers:


I'm sorry, but I don't consider this "chippy goodness".

I'm sure this piece of furniture belonged to a girl, since it appeared that it was "heavily decorated" at some point:


Never mind the Goo Gone. I just took my trusty palm sander to these babes. This stuff needed to be vaporized.

Here is my helper who stayed by my side the entire time:


Here's a hint of what I used:


Shock of all shocks! Chalk Paint??? Like, nobody else is using this in Blogland. I do have to admit that I LOVE this stuff. But, 'nuff said. On to the project.

I painted the center front panel of each drawer in Old White and applied some vinyl letters, cut with my trusty Cricut and Sure Cuts a Lot program. Gotta love those two together! And, I'm not forgetting to thank Mrs. Barford, by middle school French teacher, whose husband also taught French, heard my test tape at home, and thought I was a native speaker (had to throw that in for bragging purposes).


After applying the vinyl letters, I painted over them with Paris Grey. Then, I lifted the vinyl off of the dried paint, to reveal the loveliness underneath. I painted the body in Old White. A coat of oak Briwax and clear Briwax later, this is what I came up with:


I'm kind of tickled with it.
Fondly, Tami


June 28 postscript- I found the link of the original right here. Yea. I really do like to give credit to the original creative blogger!
And, I'm linking to:
Under the Table and Dreaming
I Heart Naptime
Sisters of the Wild West 
Miss Mustard Seed

Thursday, June 23, 2011

What do you REALLY do with those beautiful tags you make???

So, do you Froggers (Friends that are Bloggers) remember this?


...that was turned into this?


Well, of course I couldn't give it to my friend like that, so I had to add some embellishments. Here's what I came up with...

Tag 1:


Tag 2:


Tag 3:

This tag includes my own key design that you can find here under Creations by Tami.


Tag 4:


This also contains my bird cage design, which you can find here as well.

Put all of these tags together, and this is what you get:


I was tickled to pieces because while I love to make tags, I never really know what to do with them. Since they are pieces of art in and of themselves, you can always just frame them as well. This gives me great ideas for Christmas! I SO can't wait!

I gave this piece to my friend, Kate, who owns the Cozy Crop House in Lancaster County, PA. If you've never been there, and you want a WONDERFUL weekend away with your Scrappin' Peeps, this is a great place! Kate makes sure you have a FAB experience. It's close to lots of Lancaster County attractions, and is very close to AC Moore, Michael's, and several local scrapbook stores. She also has some supplies on site in case you run out of necessaries, and she recently became a Ranger retailer. Woot, woot!
And, when you come for a weekend, you can see the above piece in all of its glory. Hey, Froggers! That, in and of itself, would be a great reason to come for a weekend!
So, if you decide to take some time out for yourself, book a weekend and let Kate know I sent you. Believe me, I don't get any kickbacks- just the satisfaction in knowing that I've helped out a good friend who runs an upright and wonderful business that blesses the socks off of women who need to get away for a while.

And, last but not least, here is some cuteness to brighten your day:


Stay tuned for some furniture re-dos. Believe me, I'm just as excited as you all!
Fondly, Tami